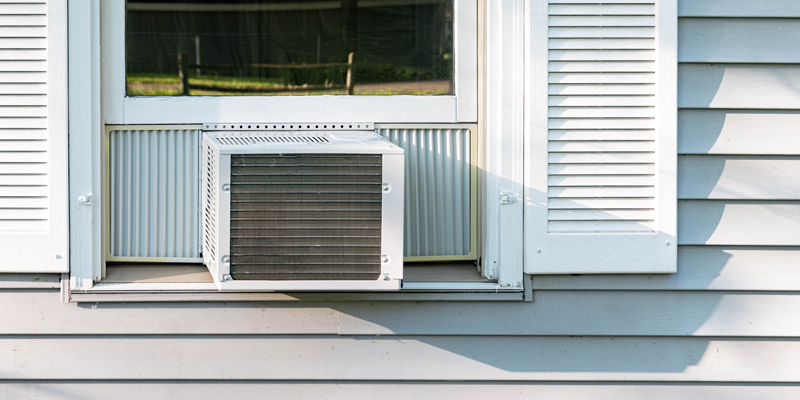

It is difficult to argue about the importance of having environments that have the right climate. Having air ducts and vents installed in your house will ensure you get good cool or warm air circulation air at the right temperature that is suitable for your current atmospheric condition. However, if you’re starting to notice that you’re finding it difficult to breathe lately in your home or that the air just doesn’t smell right.
Your indoor air vent may be due for maintenance. Indoor air ducts need regular cleaning to ensure maximum performance and efficiency. HVAC duct maintenances are best carried out by professionals. But if you follow the right steps, you can carry out the maintenance yourself. In this article, we’ll be seeing how to clean air ducts yourself so you can save hundreds of dollars on professional maintenance costs.
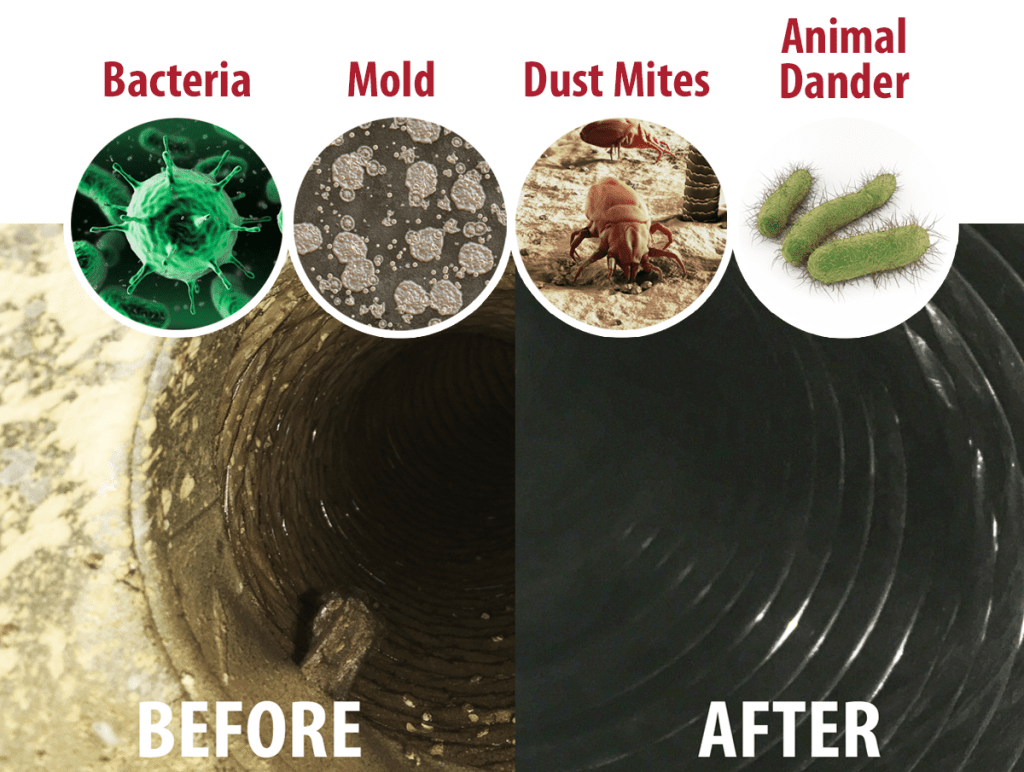
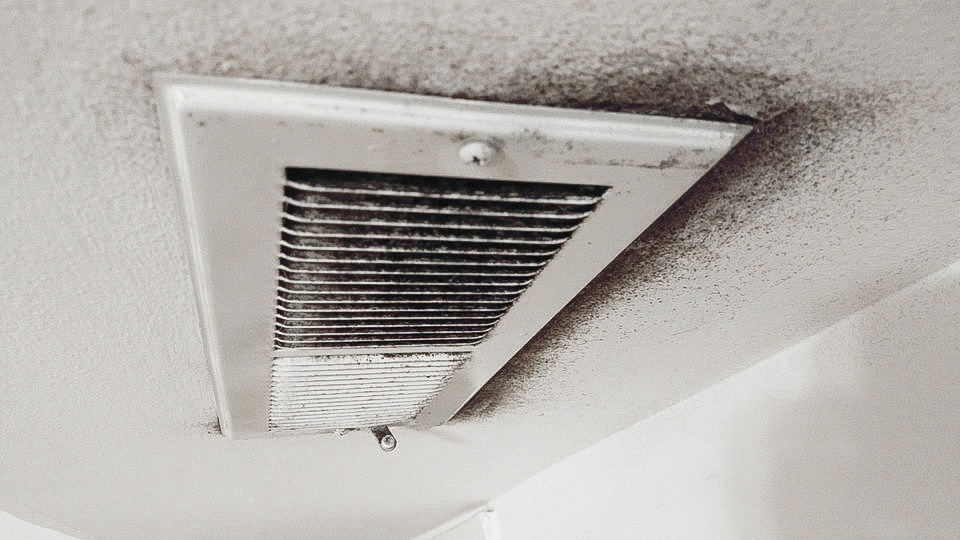
When they are not cleaned, the ducts become a deposit for dust, bacteria, viruses, mites, fungi, insects, and even smaller animals – dead or alive. Cleaning is important considering that the air in a building is recirculated several times a day.
Although the EPA says that there are no existing scientific discovery that says duct cleaning can improve indoor air quality, according to a study conducted by the NADCA, cleaning HVAC ducts can result in energy savings of 11 percent. The explanation is simple. Dirty devices find it harder to run and expend more energy to keep running. When they are clean and do not need to make any additional effort, consumption will be lower. It is estimated that proper maintenance of all the elements of the HVAC unit can help save 5 to 40 percent on the electricity bill.
The video below shows how professionals clean air vents and how much dust is accumulated there.
Nonetheless, the downside with DIY cleaning is the exposure to the dust and dirt in a vent system. Hence, PPE is needed for maintenance.
The cost of cleaning the ducts of an air conditioning system can vary from one circumstance to another. Generally speaking, the price of labor is around $20 / hour. But there are other important factors, such as the level of dirt in the ducts, the type of cleaning (manual or mechanical), whether it is necessary to carry out disinfection, or whether other components such as the outdoor unit or the grilles are cleaned in addition to the ducts. Any of these aspects can increase the price of the service above 10%. The following may be indicative budgets:
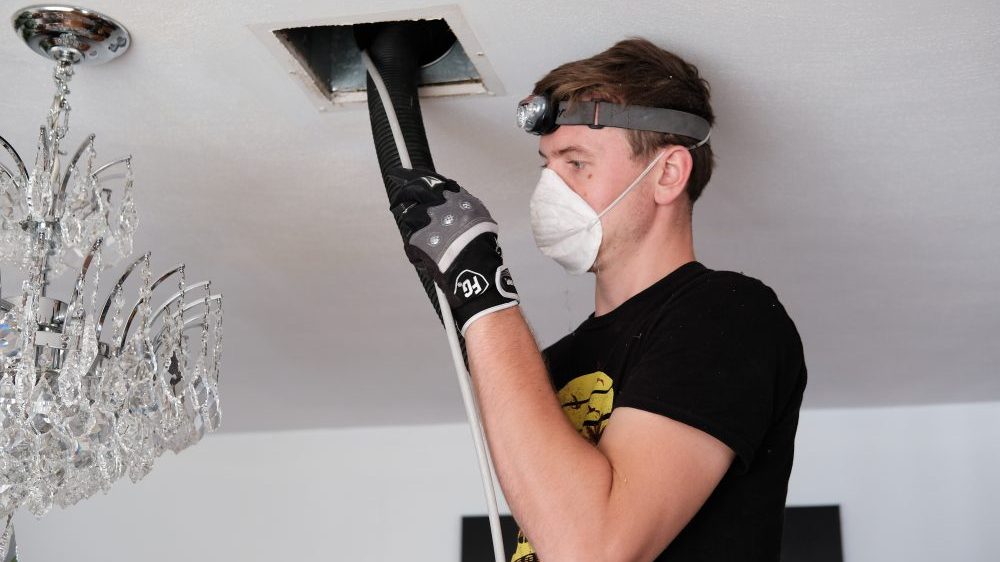
If you want to see or practice how to clean air ducts in your home yourself, below are things you will need:
If you’ve already lived in your home for a while, you probably know where most of the ducts are. You should take the time to locate them all to save time. Some houses have ducts high above the walls and others have them located at the base of the walls. You should plan the cleaning of each of these elements in a systematic way. You want to clean room by room unless you want to do it randomly to take longer in the cleaning process.
Some ducts may be located in unusual places. You must go around the house to locate them all. You will most likely find other things to clean or fix during this process as well, but try not to get too distracted.
You can use a ladder, stool, or chair, or ask a particularly strong person to hold you. Make sure this item is flat and doesn’t wobble under your weight. Cleaner air in your home is necessary, but it shouldn’t come at the cost of a sprained ankle.
In basic terms, these registers are the elements that supply warm air to the rooms. You must lift them, cover them with absorbent paper, and put them back in place (it’s that simple). This will prevent excess dust from spreading into the room while you clean the air ducts.
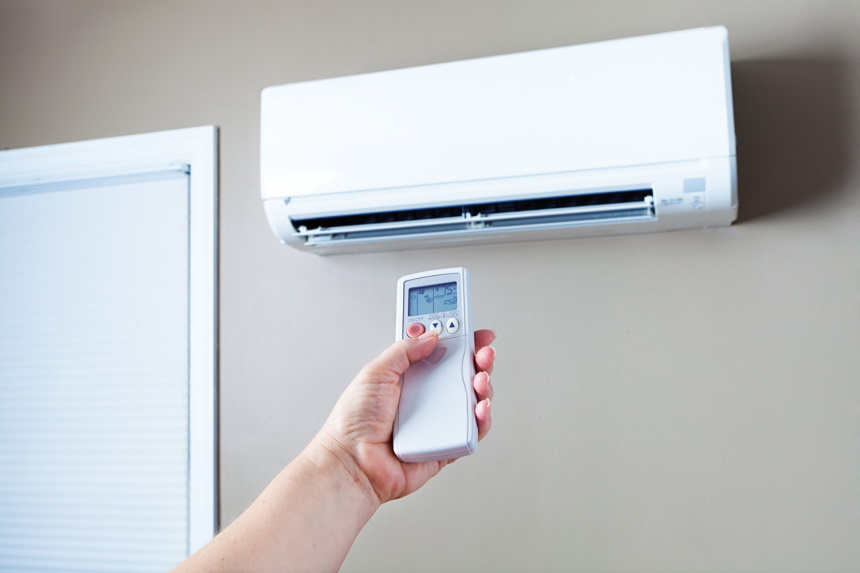
This will prevent everyone in the house from inhaling and coughing up all the dust that you are about to release. Check the thermostat and turn on the fan. Then turn off the heat and cool mode. It is only necessary for the fan to work.
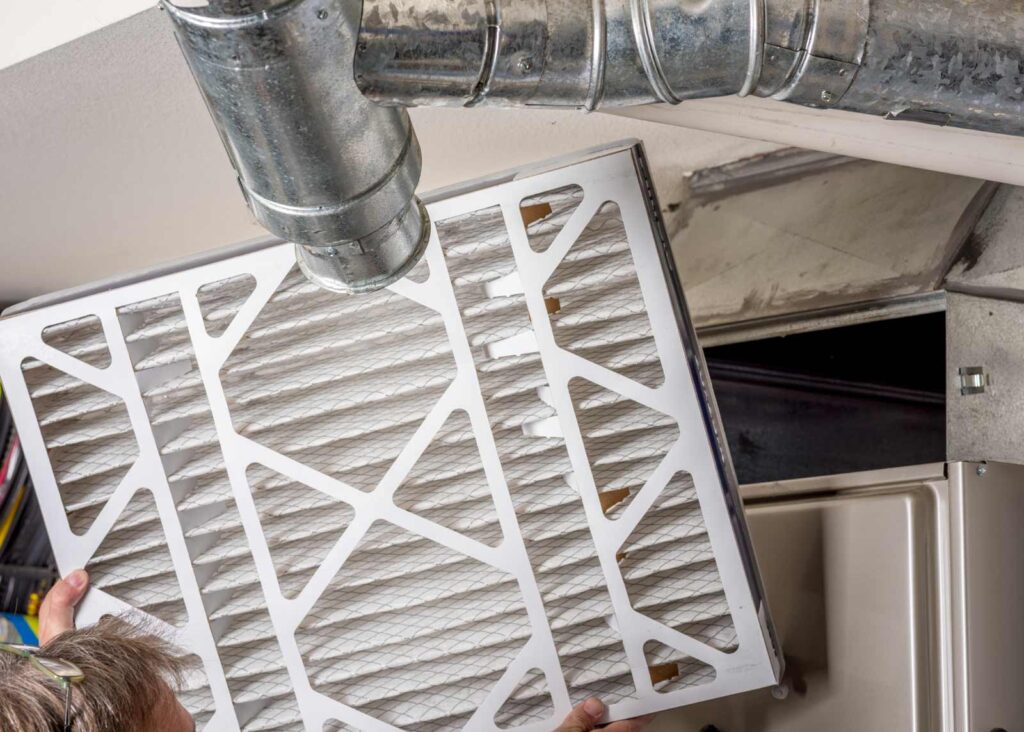
You should inspect the heater filter to make sure it is not missing or damaged. The filter is important so that the dust you are about to clean does not get stuck inside the fan motor, as this would create another problem.
You can use something similar to a new toilet brush, as you probably don’t want to use the one you use to clean your toilet. A fairly large, stiff-bristle cobweb duster or brush is also ideal.
According to HVAC experts, one of the best cobweb brushes for this job is the GLORYA Cobweb Duster. It’s a high-reach brush with a stainless steel pole of 8 feet.
You should use that brush to loosen any stuck or wet dust inside the air ducts.
Remove and discard the absorbent paper. Then lift the register so that the fan blows the dust out. Use your vacuum hose to pick up the dust before it starts to spread around the room.
According to most reviews, the most reliable model for air duct maintenance must be the 3 Peak HP 5 Gallon from Vacmaster, which, thanks to its reinforced construction, versatility, and light weight is the best for cleaning the vent up there.
Then use the stiff bristle brush to remove any hardened dust. At this point, you will be able to observe progress in the cleaning process.
You can move from one record to another. The return air registers are likely fastened, so you should use a screwdriver or a suitable tool to unfasten them. You may want to know how return air ducts are installed to know how to unfasten and then fasten them.
Then use a broom to sweep up the dust. You can advance as far as you can. Use the same stiff bristle brush to remove any build-up of dust. Re-fasten the registers once you are done.
Recheck the thermostat and turn off the fan. Then go to the service switch or switch panel. You should check the panel well and find the switch for the heater to disconnect the power. Make sure you don’t turn off the thermostat.
Remove the panels on the front of the heater. This procedure will give you access to the extractor section. Use the hose of your vacuum cleaner to clean the dust that has accumulated in the exhaust section and the air return box. This area is where most of the dust collects, so you will have completed most of the work once you have done this. If you have time, you can move forward with cleaning the heater fan while you are there.
You may have to rush out to get a new filter. However, a new and better filter will pay off in the long run. The air will be cleaner indoors with a new filter, as there will be less dust (which means fewer worries for you).
You should bear in mind that you will have to change the good filters more frequently.
How often you need to change the filter will also depend on the type of home you have, your pets, and where you live.
You don’t need to clean the main air ducts, but you can if your goal is to remove as much dust as possible. First, check to see if you have a rectangular duct system. If so, you should go ahead and slide the units down with pliers. Then remove the caps from the exhausts. This terminology may sound a bit technical to you, but it should be fairly straightforward to understand once you stand in front of the ducts.
The entrances are the long, vertical metal pieces on the rectangular duct system.
Take the hose from the vacuum and slide it over the gap created by removing the caps. This procedure is likely to be fairly straightforward for you unless the duct is located against the wall.
You should vacuum up as much dirt and dust as possible. Then use a flashlight to check your work. You can vacuum again if the duct doesn’t look as clean as you’d like.
This procedure will only be necessary if you have a basement. Typically, a home’s ductwork has some registers intended for basement airflow. You must extract those registers to vacuum their interior.
Keep in mind that cleaning the air conditioning ducts is not the same as checking them. The cleaning of the air conditioning ducts must be carried out at least once a year. In other words, it is a cleaning that must be done annually.
However, for health reasons, it may be advisable to clean the ducts more frequently, either due to exceptional circumstances or because the property is subject to high occupancy or traffic of people that may increase the risk of disease transmission. In this case, you may decide to clean the ducts thrice or twice a year.
If you have mold, follow these steps to remove it and keep it from coming back.
Contaminated air ducts can harbor viruses, bacteria, and other potential germs, which can be harmful to your health. Keeping yourself and your family safe is a priority, so you have to clean your air ducts to avoid more serious problems in the future.
We’ve seen how to clean air ducts yourself without spending hundreds or thousands of dollars on maintenance annually. You may like the cleaning you’ve done, but it’s okay if you can’t clean the ducts as well as you would have liked. Certain problems (like mold) are too serious to handle on your own. If this is the case, it is best to contact a professional.
It’s a good idea to keep a “regular maintenance” notebook to record regular cleaning jobs. You should include duct cleaning as part of this and take into account the affected rooms. Clean the air ducts every three months if you want to ensure the best indoor air quality.