
Bathroom fans are one of those devices that you should hardly hear. Good bathroom fans should not be louder than 3 sones. If the background noise is below 1 sone Trusted Source Bathroom Exhaust Fans - A Consumer Guide Noise level is also a consideration when selecting bathroom ventilation. Bathroom fan sound levels are measured in sones: 4.0 sones is the sound of standard television operation; 3.0 sones is typical office noise; 1.0 sones is the sound of a refrigerator; and 0.5 sones is the sound of rustling leaves. For quiet bathroom ventilation the fan should be rated at 1.0 sones or less. www.hvi.org , the bathroom fan works almost silently, like a quiet refrigerator.
Nevertheless, it’s not uncommon to find bathroom fans whirring away noisily. Old fans needing replacement, unmaintained fans, or bad quality bathroom fans often work noisily, sometimes exceeding 4 sones.
In this article, we’ll not just see how to fix a noisy bathroom fan, we’ll see some of the noises faulty, old, or unmaintained bathroom fans can make, tell you the possible reasons the fan is noisy, how to replace it if it’s irredeemable, and what the safety precautions to observe are.
If a bathroom exhaust fan is louder than 4 sones, this can have several causes:
The main moving parts of the fan are the blades. It is normal to hear sounds as they move. Although they may be quieter or louder. However, if you hear a vibrating noise, likely, the fan is not securely attached.
Even the brackets and mounting screws can loosen over time, causing the blades to produce sound. During this time, you might quickly hear a clicking or crackling sound due to loose blades. This usually means that the blade holders come back in contact with the motor housing.
Anytime your bathroom fan makes repetitive banging sounds as the blades twist, it usually means it has misaligned or clogged fan blades. When the fan starts to wear out and take impact damage, it will make more sound while spinning.
If your bathroom fan just began making a sound, then it may be a sign that the motor is bad. Keep in mind that the motor does all the delicate work. It is responsible for rotating the fan blades which move the atmosphere. Bathroom fans will create a hum if they have inefficient motors. Affordable and older fans tend to have less efficient motors with noisier operations. As the engine begins to shut down, the sound may become a high-pitched whine.
Ducts are another common source of toilet exhaust fan noise. After the fan removes the bathroom air, it uses a port or ducts to transfer the air beyond your home. With this one, you cannot stop the moving atmosphere from creating a certain degree of sound. It is however possible to reduce the sound by the air passing through the air ducts.
You need to understand that higher pressure of air means more air noise. Therefore, ducts with smaller diameters create higher air pressure and, hence, more sound. This is the reason why the quietest fans often have six-inch ducts. The problem is that apartment ceilings typically have three or more ducts than four inches.
If, for example, your fan has a six-inch duct, but your house includes a four-inch duct, you can also use a reducer to hook up the fan.
Ultimately, be aware that it is best to have straight ducts, as multiple or difficult turns can increase air pressure along with noise.
If you hear a vibrating sound from an exhaust fan, it is also due to bad mounting or poor quality setups. There can also be the issue of the mounting hardware and screws becoming loose. The vibration goes through the walls and ceiling, multiplying the sound pressure it produces.
If you hear squeaking noise from a toilet fan, it is mainly due to moving parts starting to get too dry. As the dry components rub together at high levels, they also create friction and sound.
Bathroom fans make a squeaking sound when the fan spins and grinds due to the excessive build-up of dust, dirt, and grime. This results in additional wear and tear on the fan and shortens its lifespan.
A bathroom fan can be fixed by any handyman. Follow the processes explained below:
When dirt or grime builds up over time, it can create problems with the fan’s blades. To resolve this, remove the cover to have access to the fan’s housing and blades.
With a piece of rag as well as lukewarm soap water, clean the blades, entire housing, motor, and anything that may look dirty. When cleaning, ensure you watch for any wear or damage. If there is any damage, you may want to change the fan, motor, or even the entire unit.
If thoroughly cleaning the fan is enough, you can try removing the vibrations and noise with Sorbothane rubber. This is very flexible rubber. You can buy it with adhesive backing which makes it easy to apply on the bathroom fan.
Just cut the rubber into pieces, within 1½ to 2 inches. Wrap tape around the fan depending on where the wall or ceiling is likely to face the fixture when it’s installed. This can effectively decouple your fan in the walls, reducing vibration rate and noise transferred.
It is also possible to add a number of Sorbothane into the access plate along with the assembly of the fan motor as well to help soften some of these vibrations.
The bigger the duct is, the lesser the atmospheric pressure your fan expels. This, therefore, results in lesser air noise.
New ultra-quiet fans typically have a 6-inch duct to achieve that quietness.
If you, therefore, want to upgrade to a much quieter fan, you can replace the current duct.
If you want to keep the old fan and switch to a bigger duct, then you will want to acquire an expansion coupling that ensures you can use a bigger duct with a small fan outlet.
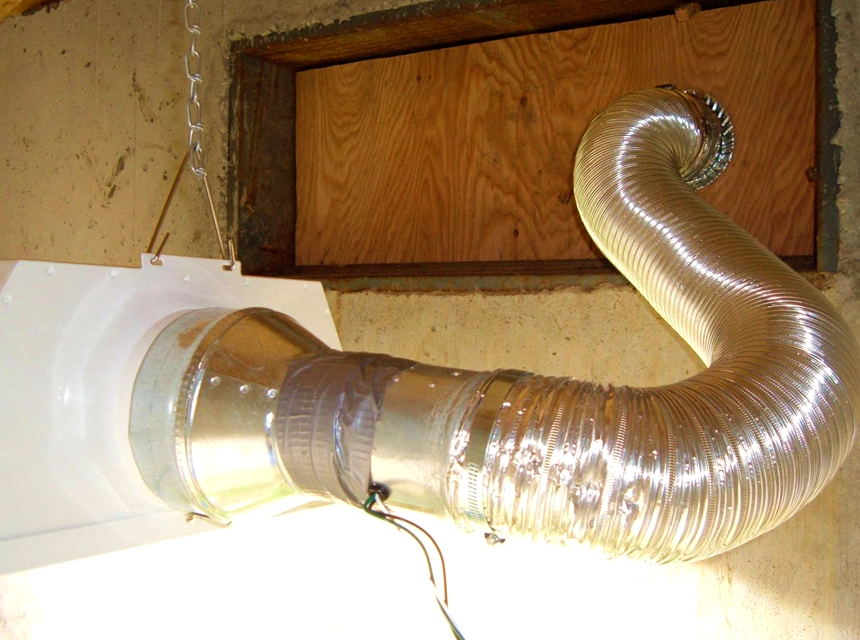
Go to your attic to locate where the fan is installed. To install a new air duct on your current fan, you have to unhook your duct from your fan outlet. Install the enlarger coupling to the socket of the fan.
Eliminate the current conduit from the fan to your ceiling or ceiling port.
You’ll need to widen the opening of the vent to get a brand new 6-inch vent. Call an expert if possible.
Run a 6-inch duct from the vent to the bathroom fan, ensuring it’s straight.
As the fan goes through the years of use, it will begin to dry, with the movement of parts beginning to have more friction. It will cause more damage and wear and tear, reducing your fan’s lifespan.
In this case, remove your fan cover. Ensure you switch the fan off. Clean the fan and its housing. Ensure there’s no dirt or dust that turns into thick dirt as you add the lubrication. This can make the problem worse rather than improving it.
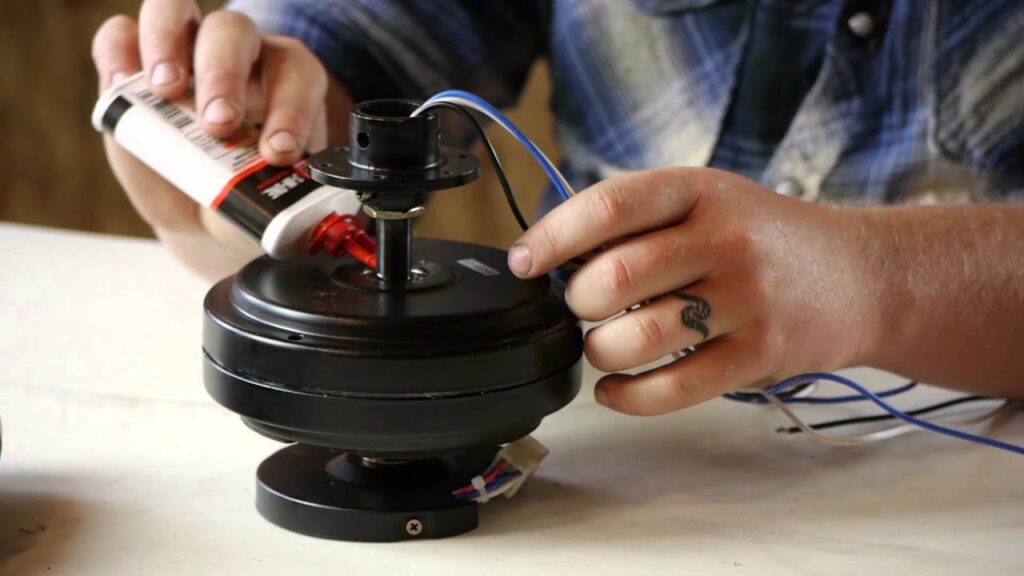
Lubricate the bottom of the blades with a lubricant. The most recommended by handymen and DIY sites is the WD-40 – 300424. This is a specialist multi-purpose grease.
Turn the blades several times while applying lubricant, ensuring a wonderful coating that goes deeper into the parts in which friction occurs most.
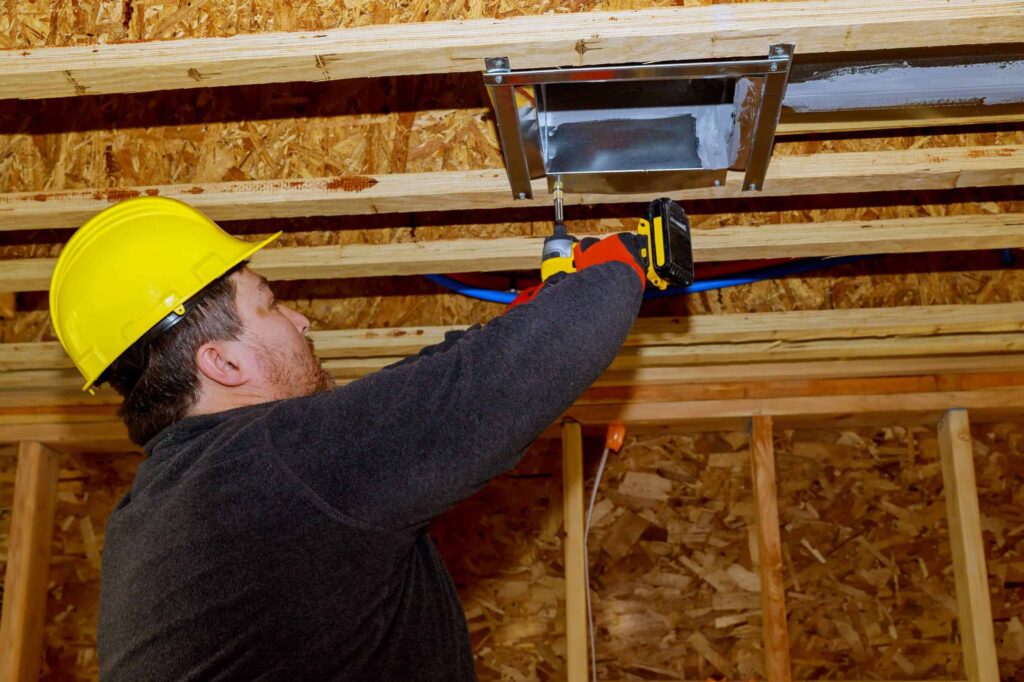
While the fan passes through the years of performance, the mounting hardware and the screws may start to loosen. While this is happening, you may feel additional sounds and vibrations that will make the fan sound louder than it is supposed to be.
There are a few ways to start tightening the screws. Remove your fan’s cover. Find the screws that hold the fan to its joists, then tighten them. That’s it, simple!
Some fans are mounted on ceiling joists but with brackets mounted above the drywall on the ceiling. In cases like this, you should go to your attic. Locate the bathroom fan at the top.
Begin by tightening up each screw that secures the fan in the brackets.
If you’ve tried all your possible best at fixing the fan but the noise problem persists, you may have to replace the fan. Fortunately, you will find good-quality modern bathroom fans on the market such as bathroom exhaust fans with light. There are even bathroom exhaust fans rated below 0.8 sones. If you’re really looking for an ultra-quiet bathroom exhaust fan, then the BV Ultra-Quiet Fan is what you’re looking for. It works with 90 CFM while producing only 0.8 sones. If you finally have a new fan, follow the replacement procedure Trusted Source 3 Ways to Install a Bathroom Fan - wikiHow Bathroom fans are essential for removing moisture and bad odors from the bathrooms in your home, thus preventing the growth of mold and mildew. By removing excess moisture from the air, you can also prevent wallpaper and paint from peeling… www.wikihow.com below.
Before you get started, please be sure to pull the plug or switch off the fuse.
Put on gloves and protective goggles, as well as the breathing mask, and pull the old grille off your old fan. You may be shocked at the sight of the dust falling out.
Detach the assembly of the fan motor from the housing and detach the connected cables. Remove the plugs and disconnect the cables from each other. Before you do that, make sure you have switched off the power again. Loosen the cable clamp to separate the cable from the case.
Also, loosen the ventilation hose on both sides. Pull the cable out of the enclosure. Use a drill to loosen the old screws for the fixing clamps and remove the old fan from the ceiling.
Go back to the bathroom and remove the wrapping from your new fan. If the new one has the same dimensions as the old one, the installation can be done immediately.
If it’s bigger than the old one, you’ll need to enlarge the holes. In that case, all you need to do is follow the outline and use the drywall saw to enlarge the hole.
If the new one is smaller than the old one, you will need to fill in the joints as soon as you install the fan.
Go to your attic and slide the new fan into the enlarged hole, making sure the orientation for the connectors fits.
Fix the position with the adjustment clamps or with approx. 2.5 cm long drywall screws with the cordless screwdriver. You may need a helping hand at this point to hold the new fan for you.
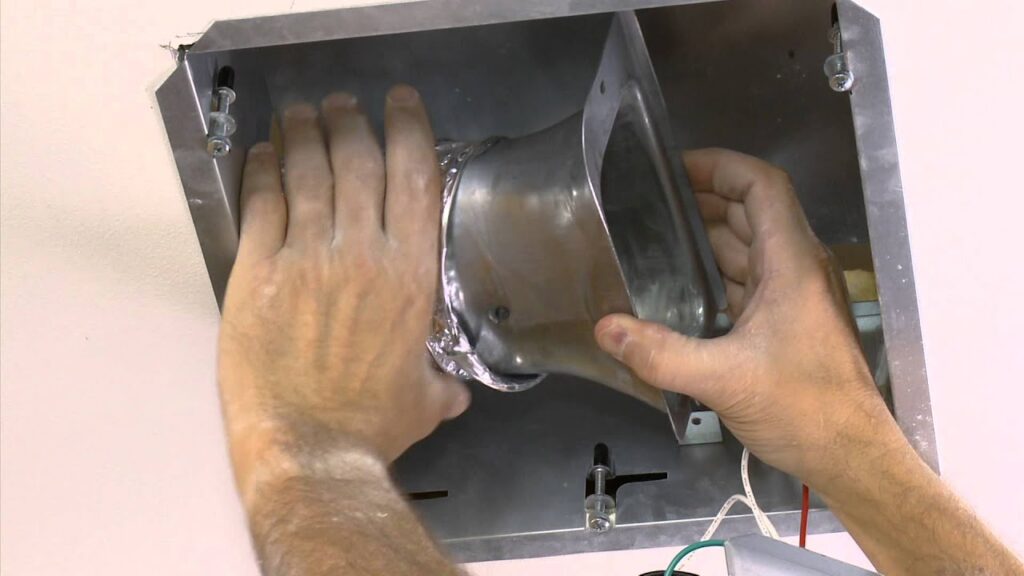
When the fan is in place, connect the 90-degree elbow piece to the exhaust port with the metal screws. Then you can mount a new 10-15 cm long ventilation pipe on it.
You can use the duct from the old fan. But if the diameter is less than 10 cm, you will need to attach an additional reducer.
However, if you want to be sure that the new fan is working with full effectiveness, you should use a new, larger ventilation pipe.
Open the electrical connection box (from the bathroom or the attic – depending on the model) and pull out the fan cables.
Connect the cables of the same color again. Wrap the stripped copper cable under the grounding clip or screw it tight. Push all the cables back into the splice box and put the lid on it.
If you have replaced the duct pipe with a new one, you also have to replace the exhaust duct with a larger one.
Use everything that ensures your safety on the roof and remove the old cap. If necessary, use the jigsaw to enlarge the opening so that it fits the new ventilation pipe.
Pull the end of the ventilation pipe through the hole until it is about 2 cm above the edge. Fix it with the metal screws and seal the corners with caulk.
Attach the new ventilation cap cupboard to the end of the new ventilation duct. With the cap on the roof, replace and fasten the loose shingles.
Go back to the bathroom and install the fan motor by plugging the plug into the wall socket. Fix this. Attach the decorative plastic grille and turn on the fan to test it.
A bathroom fan ensures between five and ten air changes per hour in normal-sized bathrooms. That is up to 90m 3 / h dirty and humid air, which is transported outside. With this amount of air, it is understandable that the fan has to be checked and cleaned regularly.
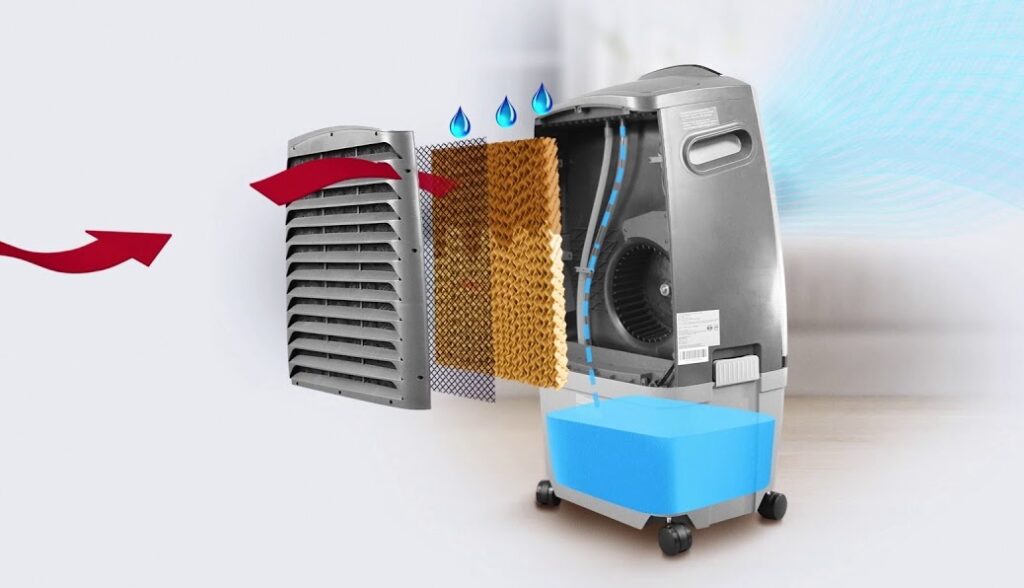
A dirty filter always leads to a drop in the performance of the device and increased noise. In addition, the engine is poorly cooled by clogged filters and thus wears out faster. It is therefore important that the filters are regularly checked for contamination and, if necessary, cleaned or replaced.
Depending on the number of people using the bathroom or shower, the fan should be checked and cleaned and the filter replaced every three to six months.
If this is not done, the bathroom fan can no longer provide the necessary air exchange and can be damaged in the long term.
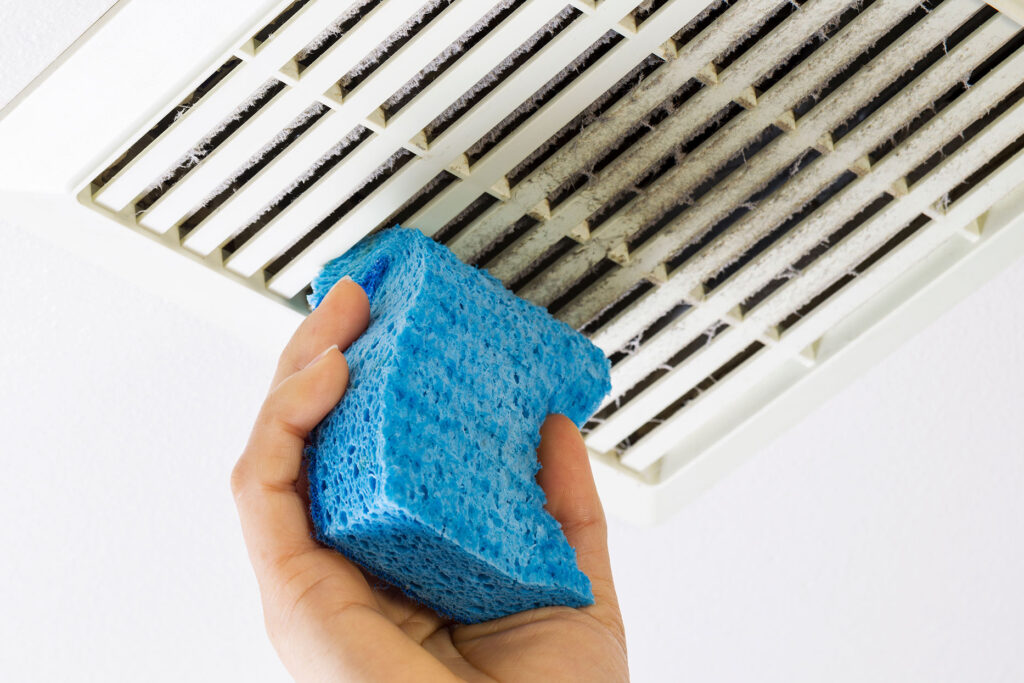
First, the cover of the bathroom fan should be removed and wiped with a damp cloth. The bathroom fan can be vacuumed out with a vacuum cleaner and then cleaned with a damp cloth.
The filters should also be removed and cleaned or replaced. Depending on the bathroom fan, there are also washable filter types. Depending on the condition of the filter, it can be washed several times before it has to be replaced. However, if the filter is porous, decomposed, or no longer clean, it must be replaced immediately.
You can then do the toilet paper test by turning on the fan and holding a single sheet of paper in front of the ventilation grille. The fan should suck in the paper. If that doesn’t work, you should call a specialist, because, at this point, your bathroom fan is no longer drawing enough.
The main reasons for a noisy fan include the build-up of dirt and debris, friction, bad assembly or inadequate configuration, small duct size, worn engine, and a few more. In any case
Knowing how to fix a noisy bathroom fan can save you time and money. All you need is to make an inspection of the fan, clean the buildup of dirt, fix the loosened screws, lubricate the engine and the blades, or install a bigger air duct.
Old bathroom fans can also be the cause of humming noises, so buying a new bathroom fan can be ideal in several ways. New bathroom fans are quiet, use less electricity, and look more attractive.